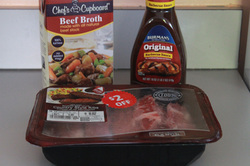
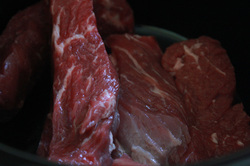
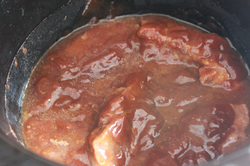
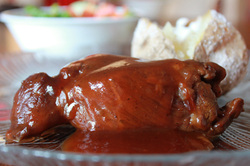
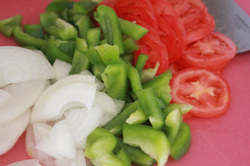
Dining out is costly; however, that doesn't mean you can't have similar good food at home without that cost. Mission - Restaurant-style baked potatoes is a good way to demonstrate how you can still have a great baked potato at home and save a lot of money. Most restaurants charge $2 or more dollars per side dish; however, if you catch the right sale, you can purchase a 10lb bag of russet potatoes for $2 or less. This week at Aldi, I was able to pick up at bag 10lb bag of potatoes for $1.59! Talk about a deal. In the past, I have bought potatoes and forgot about them - they go bad, I throw them away. What a vicious cycle of waste! In an effort to eliminate this unnecessary waste and continue our mission to not dine out, I decided to make my own "restaurant-style" baked potatoes at home tonight to go with our BBQ Beef Ribs. These potatoes are super simple and delicious! You can have these as a side dish or as a main entree.
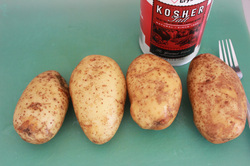
Here's what you'll need.
Super Simple Restaurant-Style Baked Potatoes
4 baking potatoes
Kosher salt
Begin by preheating your oven to 400 degrees. Next, wash your potatoes and scrub them clean with a vegetable brush.
Here's what you'll need.
Super Simple Restaurant-Style Baked Potatoes
4 baking potatoes
Kosher salt
Begin by preheating your oven to 400 degrees. Next, wash your potatoes and scrub them clean with a vegetable brush.
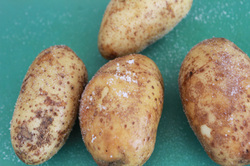
While the potatoes are still moist, sprinkle the entire skin with kosher salt. Place directly on oven rack and bake for approximately one hour or until potato is tender and skin is slightly crisp. To help keep your oven clean, lay a piece of foil on the rack below the potatoes as they will likely drip moisture as they cook.

Serve with your favorite toppings - butter, sour cream, chives, cheese, bacon pieces, broccoli or whatever your heart desires.


 RSS Feed